Blender Collection Tutorial

Learn how to install, share, and use your add-on packs with ease.

What is Blender Collection?

Blender Collection is a web application designed to simplify how you manage and share your Blender add-ons. It allows you to create personalized collections of extensions, download them all at once, and easily import them into Blender.

Whether you’re configuring multiple workstations or sharing your setup with the community, Blender Collection ensures portability, consistency, and collaboration.

Example use case: you build a “Modeling Starter Pack” with your favorite tools — Hard Ops, BoxCutter, and LoopTools. With one click, you or your teammates can download and install them all together.

How to Install Your Add-ons

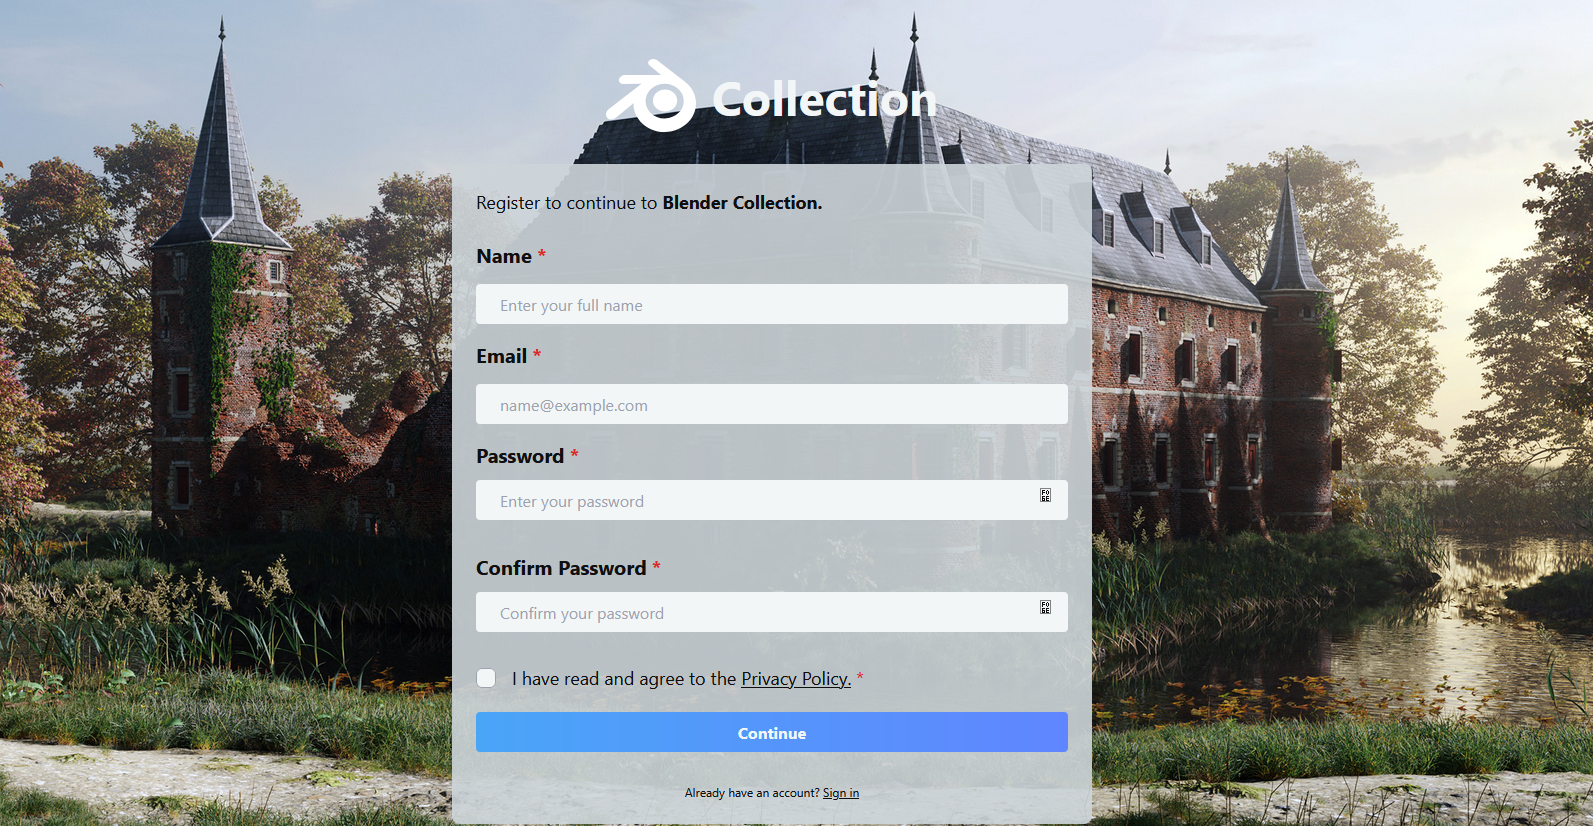
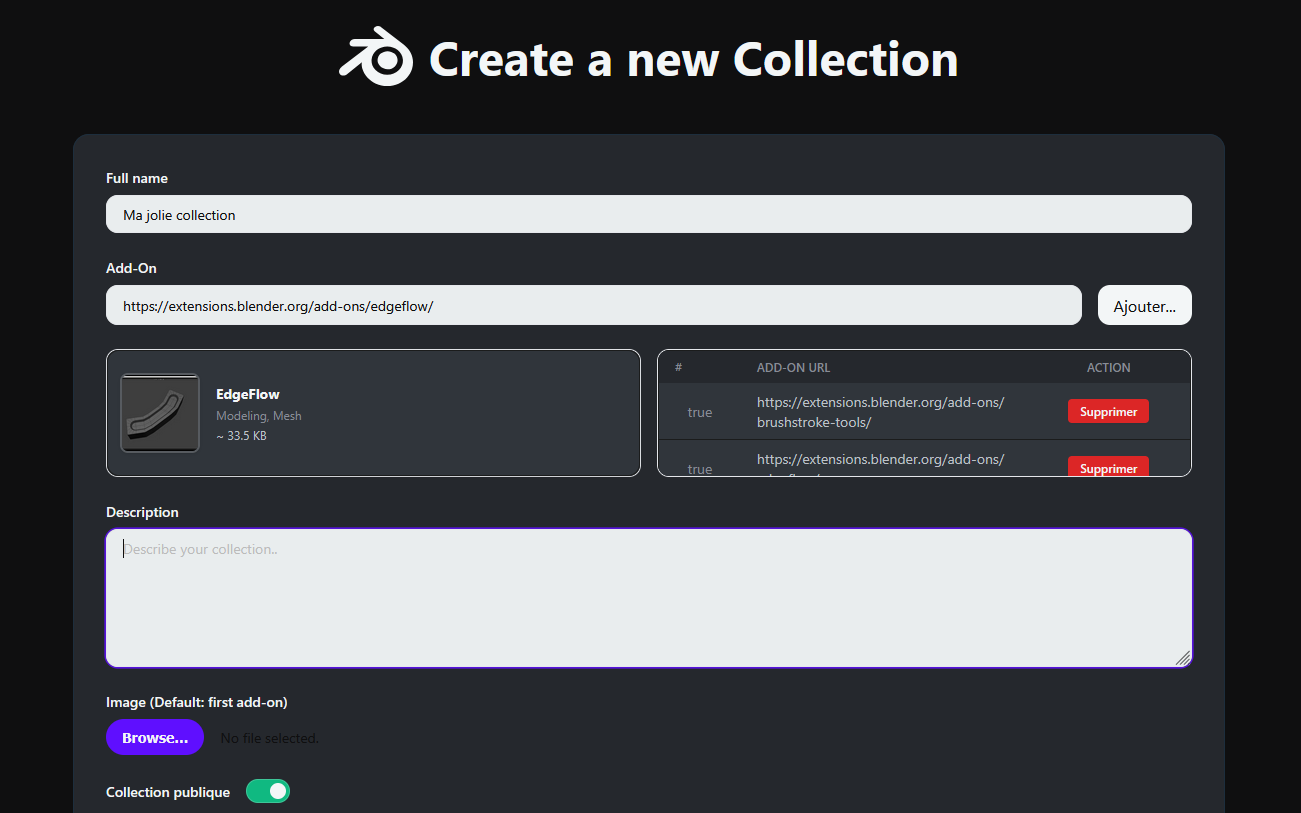
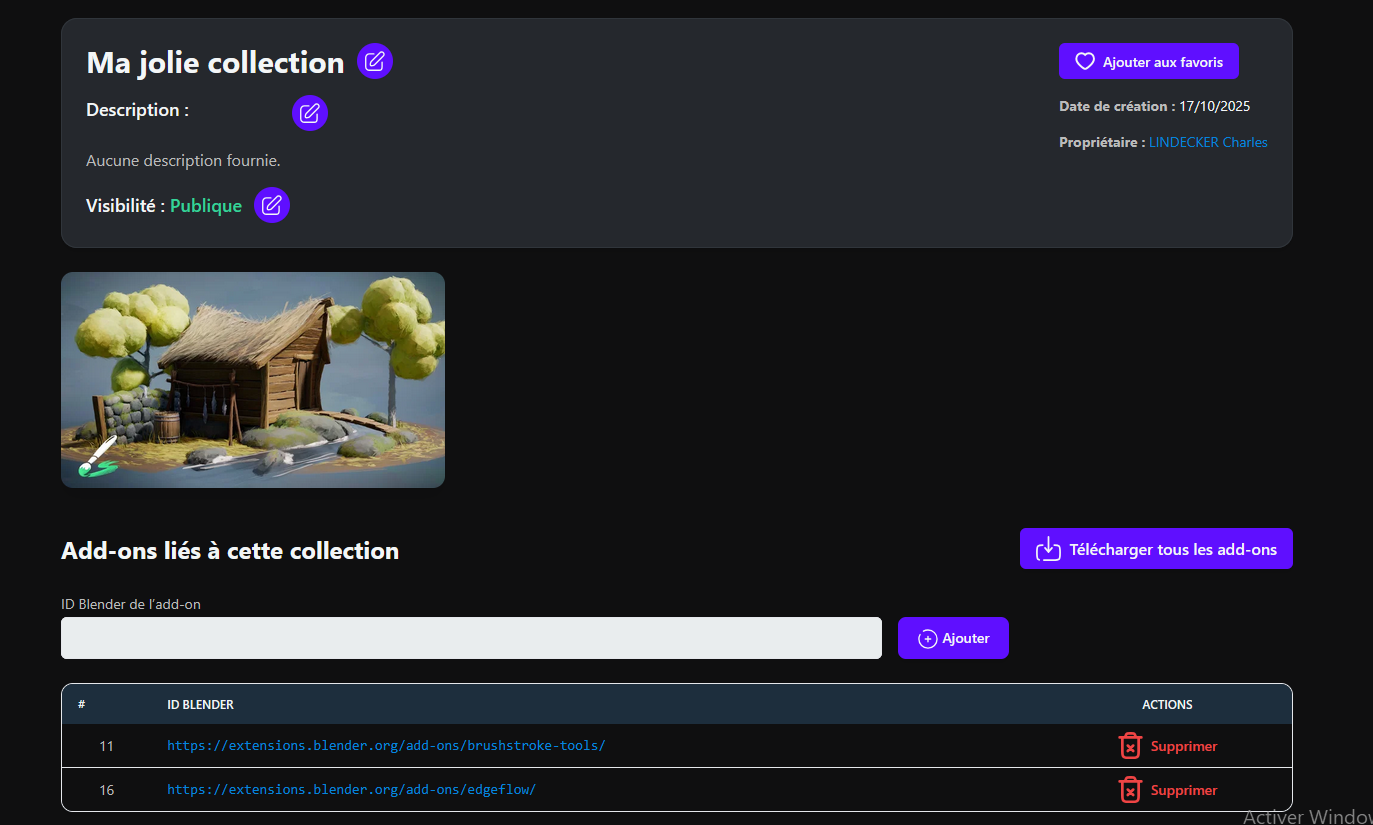
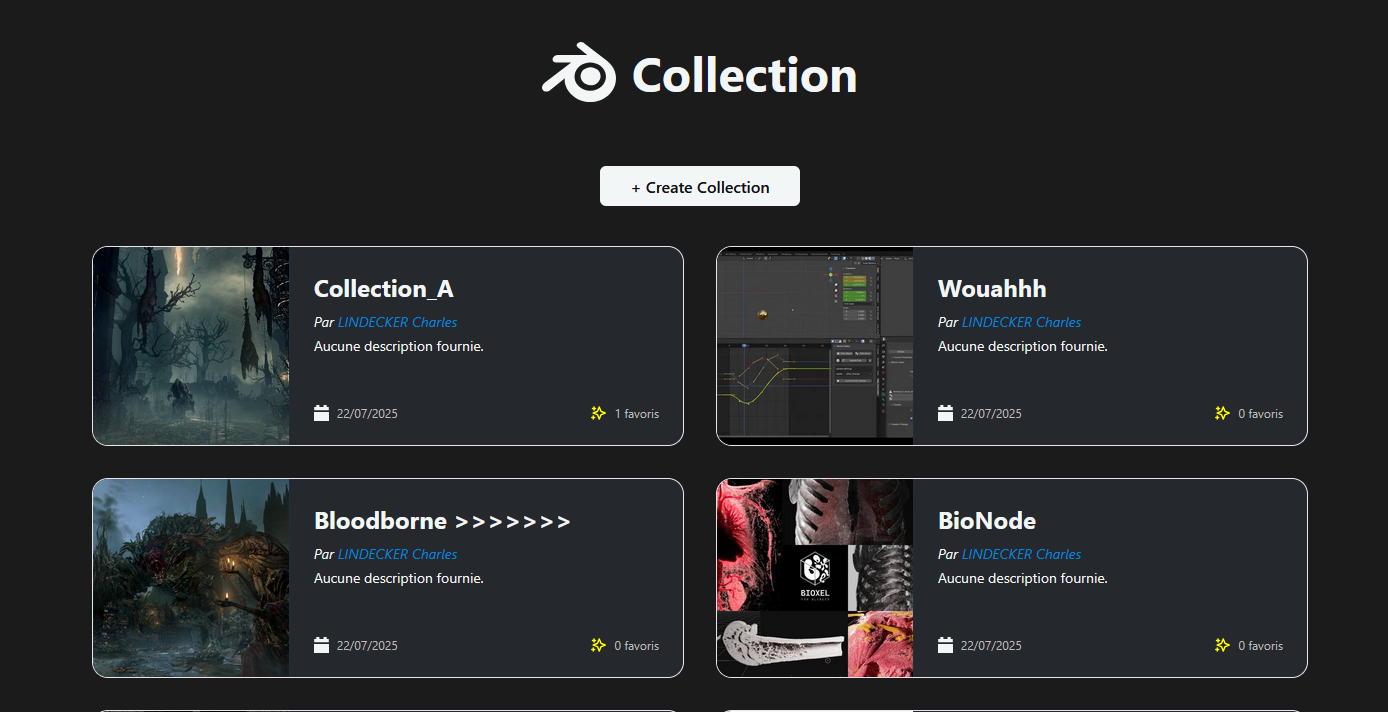
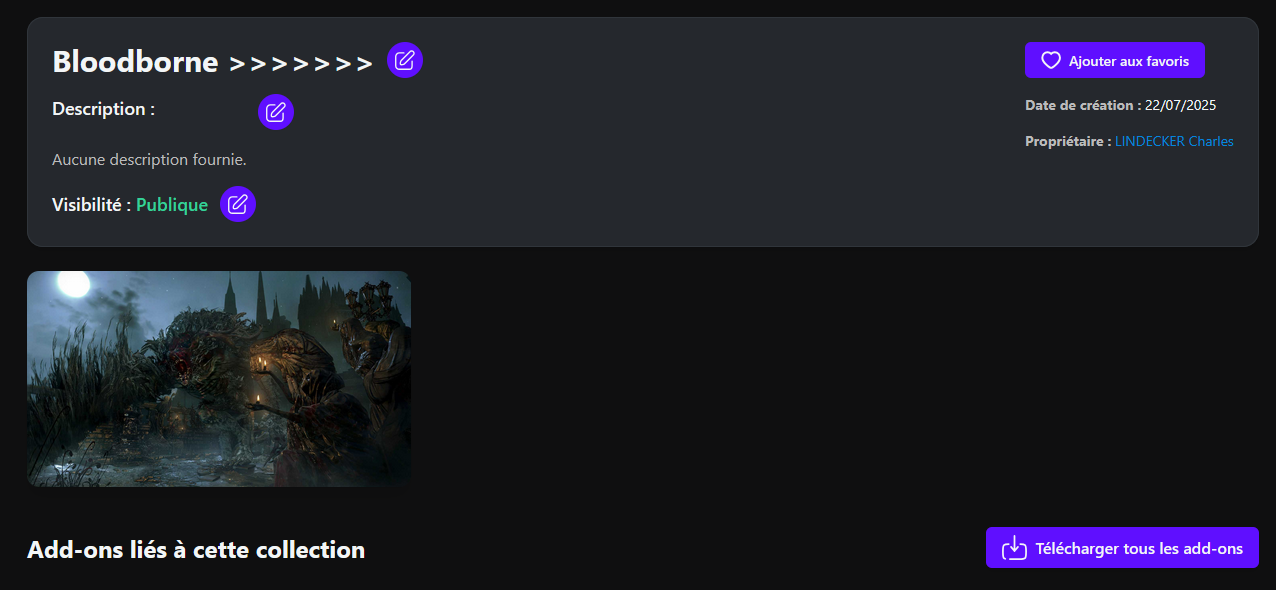
1. Browse and Select a Collection

Navigate through the available collections on Blender Collection. Each one groups several compatible add-ons. Click on the one you want to download.

List of collections
List of available add-on collections.

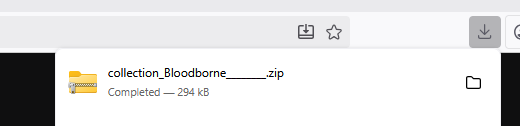
2. Download the Add-on Pack

On the collection page, click on the Download button to get a .zip file containing all the add-ons.
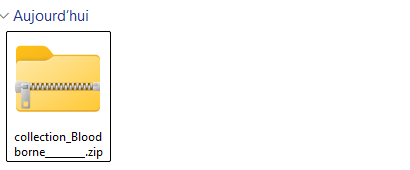
Collection page with download button
Click the download button to get your pack.
Downloaded zip in browser
The downloaded .zip file.

3. Extract the Add-ons

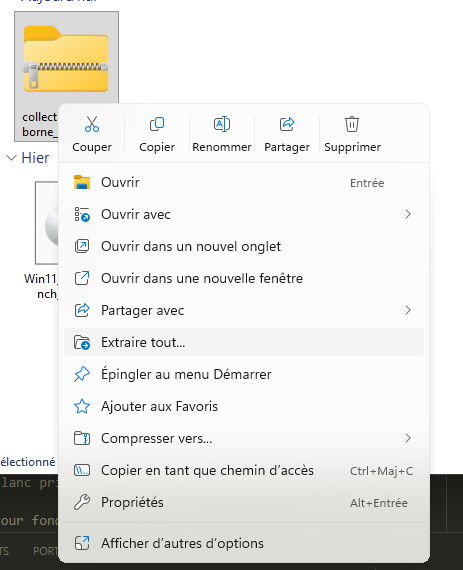
Locate the downloaded .zip file in your file explorer, right-click on it and select 
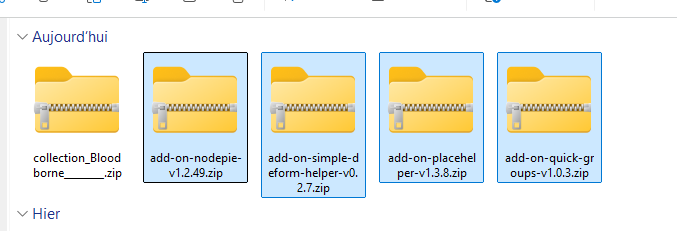
Extract Here (or Extract All). This will create a folder containing all the add-ons individually.

Zip file in file explorer
Locate the downloaded archive.
Extract option right-click
Right-click and choose “Extract Here”.
Extracted add-ons
Result: each add-on extracted as a file.

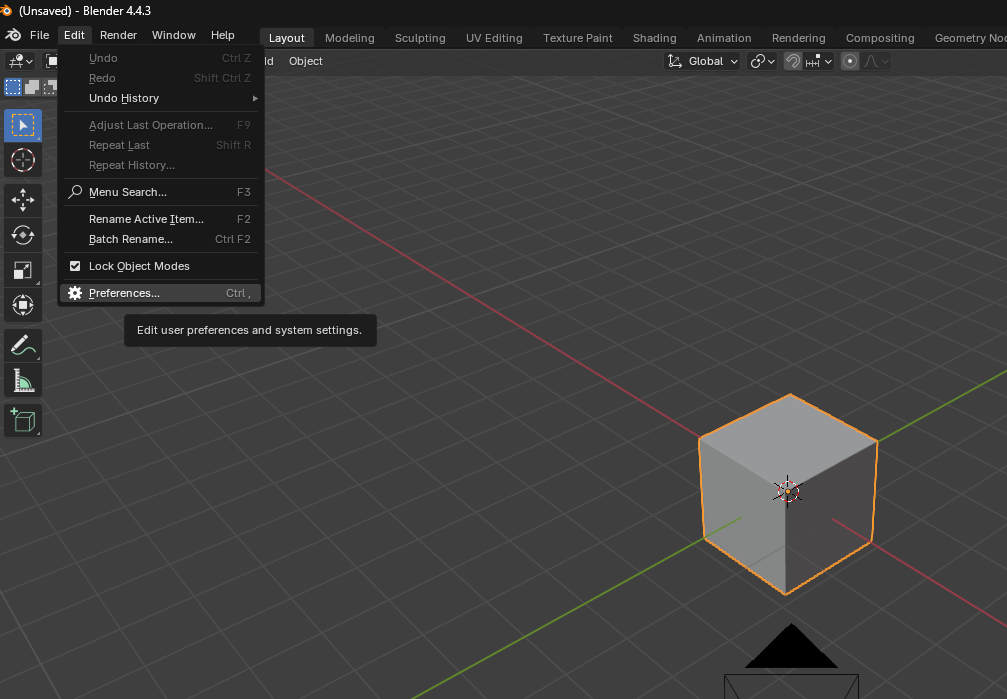
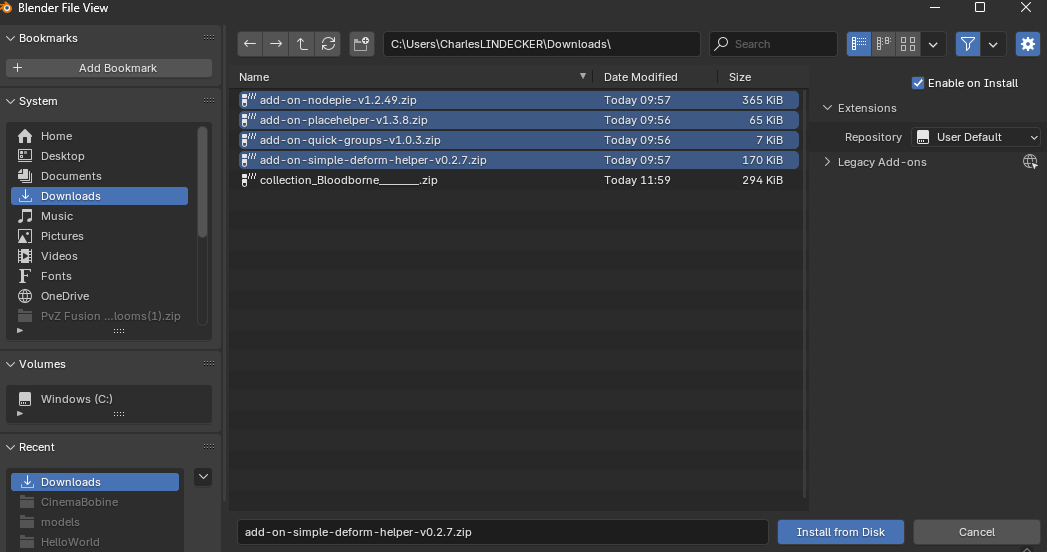
4. Install Add-ons in Blender

Open Blender, go to Edit → Preferences → Add-ons and click Install from Disk. Select all the extracted add-ons, confirm, and Blender will install them automatically.

Blender main interface
Blender main interface.
Add-ons installation window
Add-ons installation window.
Add-ons selected
Add-ons installation window.
Tip: you can select multiple add-ons at once by holding Ctrl (Windows) or Cmd (macOS).

How to Create Your Own Collection

1. Create an Account

To start creating your own collections, you first need to create an account. It allows you to save, edit, and share your collections with the community.

Account creation form
Account creation form on Blender Collection.

2. Access the “Create Collection” Page

Once logged in, click on the Create Collection button in the navigation bar to open the creation form.

Navigation bar create button
The “Create Collection” button in the navigation bar.

3. Add Add-ons to Your Collection

In the creation form, add your favorite add-ons one by one by pasting their links from Blender Extensions. You can reorder or remove them at any time before saving.

Collection creation form
Form to add add-ons and name your collection.

4. Edit Your Collection

After saving, you can view your collection’s page. From there, you can edit its name, description, or add/remove extensions directly. Changes are saved instantly.

Editing the collection page
Editing your collection directly from its detail page.

Contributing to Blender Collection

1. Why Contribute?

Blender Collection is an open-source project built by and for the Blender community. Whether you're a developer, designer, or technical artist, your help can improve the platform, expand the features, or enhance the user experience.

Contributions can include bug fixes, new features, documentation improvements, or even translations. Every pull request counts.

GitHub repository banner
Join the project on GitHub and help make Blender Collection better.

2. Getting Started

The project is hosted on GitHub at: github.com/CharlesLindecker/Blender-Collection

To get started, clone the repository and install the dependencies:


            git clone https://github.com/LINDECKER-Charles/BlenderAdd-OnListe.git
            cd app_blenderCollection
            git checkout dev
            composer install


You can then run the local development server with:


            docker compose up
            docker compose exec app composer install
            docker compose exec app php bin/console doctrine:migrations:migrate
            docker compose exec app php bin/console messenger:consume async -vv


3. Making a Contribution

Once your environment is ready, create a new branch describing your modification:


            git checkout -b feature/add-new-filter


When your changes are complete, push your branch and open a Pull Request on GitHub. Please describe what your PR does and link it to an issue if possible.

Don’t hesitate to discuss your ideas in the Issues section .

4. Guidelines & Best Practices

Every contribution helps the project grow. Thank you for your time, your ideas, and your energy 💜